The Ultimate Wedding Invitation Timeline: When to Order, Send, and Follow Up
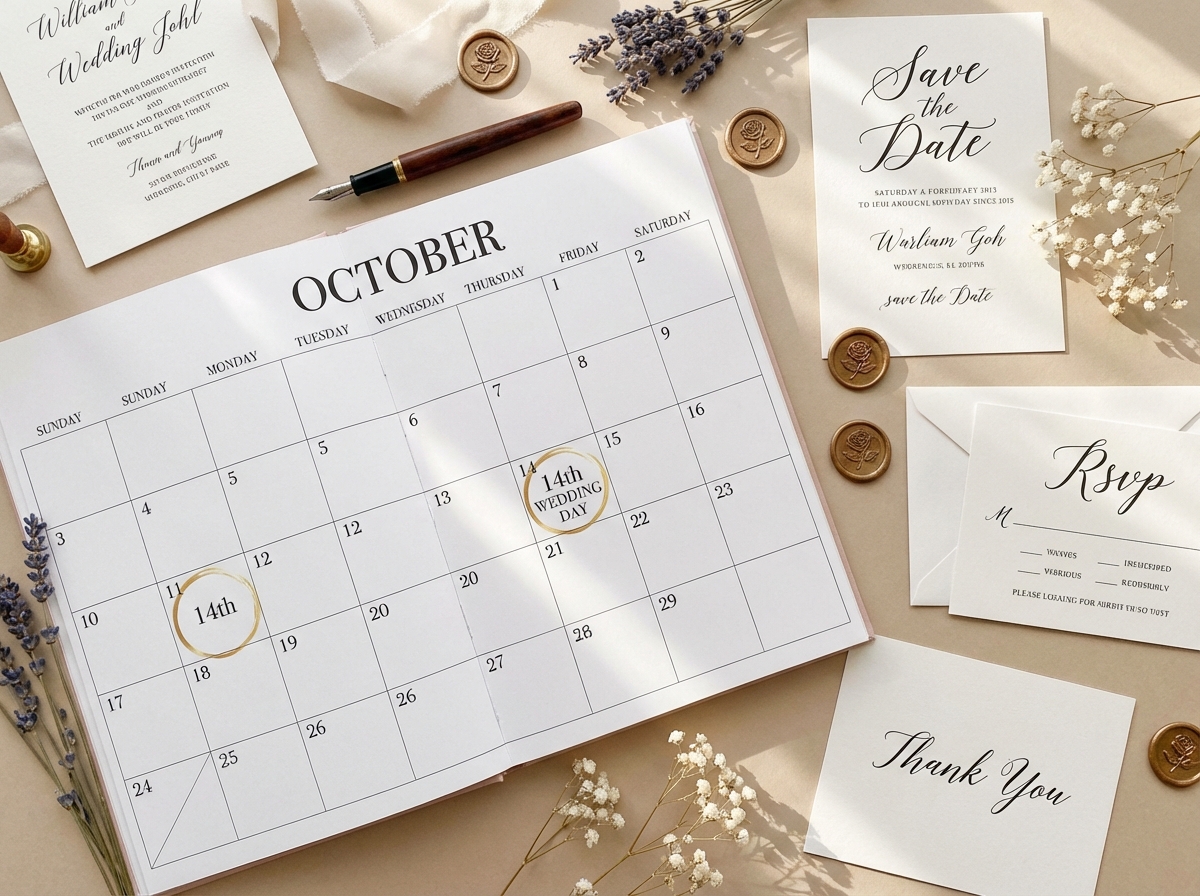
One of the most common questions we get from engaged couples is: "When should I order and send my wedding invitations?" It's a valid concern! Getting the timing right ensures your guests have enough notice, you avoid last-minute stress, and everything flows smoothly from save-the-dates to thank-you notes.
At [Your Business Name], we've created this comprehensive, month-by-month timeline to take the guesswork out of your wedding invitation schedule. Whether you're planning a traditional 12-month engagement or a shorter celebration, this guide will help you stay on track.
12–10 Months Before: Start Your Research
Now is the perfect time to start dreaming and researching your invitation style. Consider your overall wedding theme, budget, and the level of customization you want.
Set your budget: Determine how much you're comfortable spending on your invitation suite (including postage).
Gather inspiration: Browse Pinterest, Instagram, and our portfolio to identify styles you love.
Research stationers: Look for designers whose style aligns with your vision. Read reviews and check turnaround times.
Make a guest list draft: You'll need an approximate headcount for ordering quantities.
Pro Tip: If you're planning a destination wedding or a holiday weekend wedding, start this process even earlier—14–16 months out!
9–8 Months Before: Order Your Save-the-Dates
Save-the-dates are your first official communication with guests, especially important for destination weddings or if many guests will need to travel.
Finalize your guest list: Get a more accurate count to avoid over or under-ordering.
Choose your design: Your save-the-dates should hint at your invitation style but don't need to match perfectly.
Order early: Custom save-the-dates typically take 4–6 weeks for design, proofing, and production.
Send them out: Mail save-the-dates 6–8 months before your wedding (or 8–12 months for destination weddings).
6–5 Months Before: Order Your Custom Wedding Invitations
This is the sweet spot for ordering your main invitation suite. You'll have plenty of time for design, revisions, and production without rushing.
Finalize your design: Work with your stationer on typography, paper selection, and any custom elements.
Order proofs: Always request a digital proof and, if possible, a physical sample before final production.
Allow time for revisions: Budget 1–2 weeks for back-and-forth on design tweaks.
Production time: Custom invitations typically take 3–5 weeks from final approval to delivery.
Order extras: Always order 10–15% more than your guest count to account for mistakes, last-minute additions, or keepsakes.
Why order this early? Ordering 5–6 months out gives you a buffer for any unexpected delays and ensures you're not paying rush fees. It also means your invitations will arrive with plenty of time before you need to send them!
4 Months Before: Address Your Envelopes
Once your invitations arrive, it's time to address your envelopes. This step adds a personal touch and sets the tone for your wedding.
Decide on addressing method: Hand-addressing (calligraphy), printed calligraphy font, or professional calligrapher.
Double-check addresses: Verify spelling and accuracy with your guest list.
Consider envelope liners: If you ordered these, they should arrive by now.
Assemble your suites: Layer all components (invitation, RSVP card, details card, map, etc.) and place in envelopes.
3 Months Before: Send Your Invitations
It's time to send out your invitations! This is when the excitement really begins.
Standard timeline: Mail invitations 8–12 weeks before your wedding date.
Destination weddings: Send 3–4 months in advance.
Holiday weddings: Consider sending 12–14 weeks out, as guests may need extra time to plan around other commitments.
Postage: Take a sample envelope to the post office to weigh and ensure correct postage. Consider adding a "sample" stamp for testing.
Pro Tip: If you're mailing internationally, allow an extra 1–2 weeks for delivery and consider using tracked mail.
2 Months Before: Track RSVPs and Follow Up
As RSVPs start coming in, it's time to get organized and follow up with guests who haven't responded.
Set an RSVP deadline: Typically 3–4 weeks before your wedding (or 6–8 weeks for destination weddings).
Track responses: Use a spreadsheet or wedding planning app to monitor who has replied.
Follow up gently: If the deadline passes and you're missing responses, send a polite follow-up email or call.
Finalize headcount: Once the RSVP deadline passes, finalize your numbers for caterers, venues, and seating charts.
1 Month Before: Final Details and Thank-You Notes
The final stretch is all about wrapping up loose ends and expressing gratitude.
Confirm final numbers: Provide your caterer and venue with the final guest count.
Prepare place cards: If you're using them, finalize your seating chart and create place cards.
Write thank-you notes: Start writing thank-you notes for any early gifts or for vendors. Don't wait until after the wedding!
Keep extra invitations: Save a few extra invitations for last-minute additions or as keepsakes.
After the Wedding: Don't Forget the Thank-Yous!
The wedding day may be over, but your invitation journey isn't quite finished.
Send thank-you notes: Aim to send thank-you notes within 2–3 months of your wedding (sooner is better!).
Personalize each note: Mention the specific gift and how you plan to use or enjoy it.
Consider custom thank-you cards: Many couples use their invitation designer to create matching thank-you cards for a cohesive look.
Common Timeline Mistakes to Avoid
Even with a great plan, it's easy to slip up. Here are the most common timing mistakes we see:
Waiting too long to order: Rush fees and limited paper options can add stress and cost.
Not ordering enough: Running out of invitations mid-RSVP process is a nightmare.
Forgetting to weigh for postage: Underpaid mail gets returned or delayed.
Setting an RSVP deadline too late: You need time to finalize numbers with vendors.
Skipping save-the-dates for destination weddings: Guests need extra notice to plan travel and time off.
Bringing It All Together
Following a clear timeline takes the stress out of your wedding invitation process and ensures everything flows smoothly from start to finish. Remember, every wedding is unique, so adjust this timeline to fit your specific needs and timeline.
At My Lovely Store, we're here to guide you through every step of your invitation journey. From the initial design consultation to the final thank-you notes, we'll help you create a beautiful, cohesive invitation suite that reflects your love story and fits your timeline.
Ready to get started on your custom wedding invitations? Contact us today to schedule a free consultation. Let's create something beautiful together, on your timeline!
Have questions about wedding invitation timing? Drop a comment below or reach out directly. We're always happy to help you plan the perfect timeline for your big day!
Related Reading:
- How to Choose the Perfect Wedding Invitation Style for Your Big Day
- 5 Budget-Friendly Ways to Make Your Custom Wedding Invitations Feel Luxurious
- Wedding Invitation Etiquette: What You Need to Know